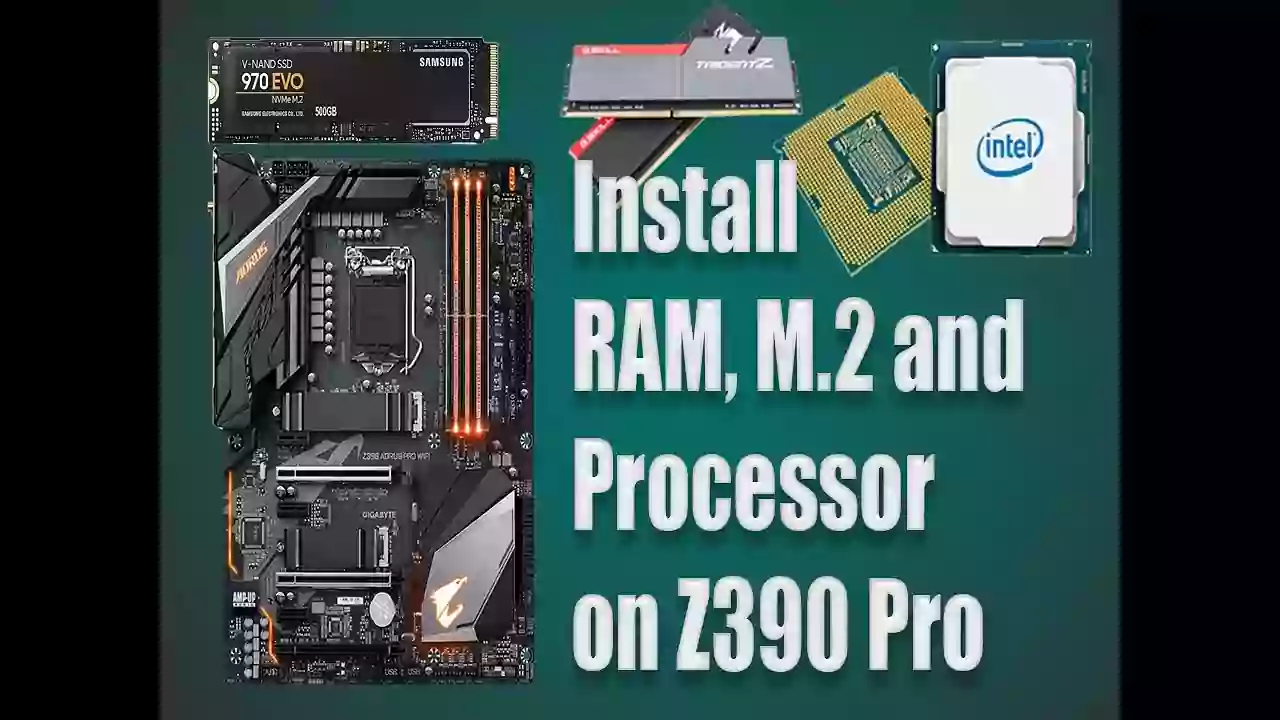
Installing new hardware components into your PC can be a daunting task, especially if you're a beginner. But with the right guide and tools, you can easily improve the performance of your computer and build your dream machine. In this post, we'll show you how to install Ram, M.2 SSD, and Intel 9th gen processor i7 9700k on the GIGABYTE AORUS Z390 Pro motherboard.
Before you begin, make sure you have all the necessary tools and components ready. Here's a list of what you'll need:
- AORUS Z390 Pro motherboard
- Intel i7 9700k processor
- Ram modules
- M.2 SSD
- Thermal paste
- Screwdriver
- Anti-static wristband or mat
Step 1: Preparation
Start by making sure you have an anti-static work environment. This is important because static electricity can cause damage to your components. You can use an anti-static wristband or mat to ground yourself and prevent static electricity buildup.
Step 2: Installing the Processor
The next step is installing the Intel i7 9700k processor. Begin by removing the plastic cover from the processor socket on the motherboard. Make sure the socket is clean and free of any debris. Then, gently place the processor into the socket and gently push down on the corners to make sure it's securely in place.
Step 3: Installing the Ram
Next, we'll install the Ram modules. The AORUS Z390 Pro supports dual-channel DDR4 Ram. Locate the Ram slots on the motherboard and insert the modules into the appropriate slots. Make sure the modules are securely in place and the clips are locked.
Step 4: Installing the M.2 SSD
Finally, we'll install the M.2 SSD. The AORUS Z390 Pro has two M.2 slots, so make sure you insert the SSD into the correct slot. Then, secure the SSD in place using the screw provided with the motherboard.
Step 5: Connecting Cables and Powering On
Once you've installed all the components, connect all the necessary cables, including power cables, data cables, and front-panel connectors. Then, close the case, plug in the power cord, and press the power button to start the PC. If everything is installed correctly, the PC should power on and you'll be able to access the BIOS.
That's it! By following these steps, you should be able to install Ram, M.2 SSD, and Intel i7 9700k processor on the AORUS Z390 Pro motherboard with ease. If you encounter any problems, refer to the motherboard manual or seek technical assistance from the manufacturer. Good luck!
Intel Z390 AORUS Motherboard with 12 Phases Digital VRM Solutions, Multi-cuts Heatsinks with Heatpipe, RGB Fusion 2.0, Dual M.2 with Thermal Guards, Intel® GbE LAN with cFosSpeed
- Supports 9th and 8th Gen Intel® Core™ Processors
- Dual Channel Non-ECC Unbuffered DDR4, 4 DIMMs
- Intel® Optane™ Memory Ready
- 12+1 Phases Digital VRM Solution with DrMOS
- Advanced Thermal Design with Multi-cuts Heatsinks and Heatpipe
- ALC1220-VB Enhance 114dB(Rear) / 110dB(Front) SNR in Microphone with WIMA Audio Capacitors
- Intel® Gigabit LAN with cFosSpeed
- RGB FUSION 2.0 with Multi-Zone LED Light Show Design, Supports Addressable LED & RGB LED Strips
- Smart Fan 5 features Multiple Temperature Sensors and Hybrid Fan Headers with FAN STOP
- Front USB 3.1 Gen 1 Type-C™ Header
- Dual Ultra-Fast NVMe PCIe Gen3 x4 M.2 with Thermal Guards
- Multi-Way Graphics Support with Dual Armor and Ultra Durable™ Design
- CEC 2019 Ready, Save Power With a Simple Click

