In addition to the above-mentioned tips, there are a few more things to consider for ensuring optimal print quality with your Brother Printer.
Color Settings:
Make sure to adjust your printer's color settings to your specific needs and preferences. Some printers have built-in presets for various types of media, such as photo paper or plain paper, which can be selected for best results.
Printing Software:
Always use your Brother Printer's software for better control over your print settings and to take advantage of its various features. With the software, you can make changes to your printer's resolution, color balance, and much more.
Image Quality:
If you're printing a photo, make sure it has high resolution and is properly optimized for printing. The quality of the image file will play a significant role in the final print quality, so be sure to use high-quality images.
Borderless Printing:
Consider using borderless printing when you want your images to extend all the way to the edge of the page. This can add a professional touch to your prints, but it's important to make sure your printer and paper are compatible with this feature.
Frequency of Use:
Regular use of your Brother Printer can help keep it in top working condition. However, be sure to take regular breaks from printing to avoid overuse and to let the printer cool down.
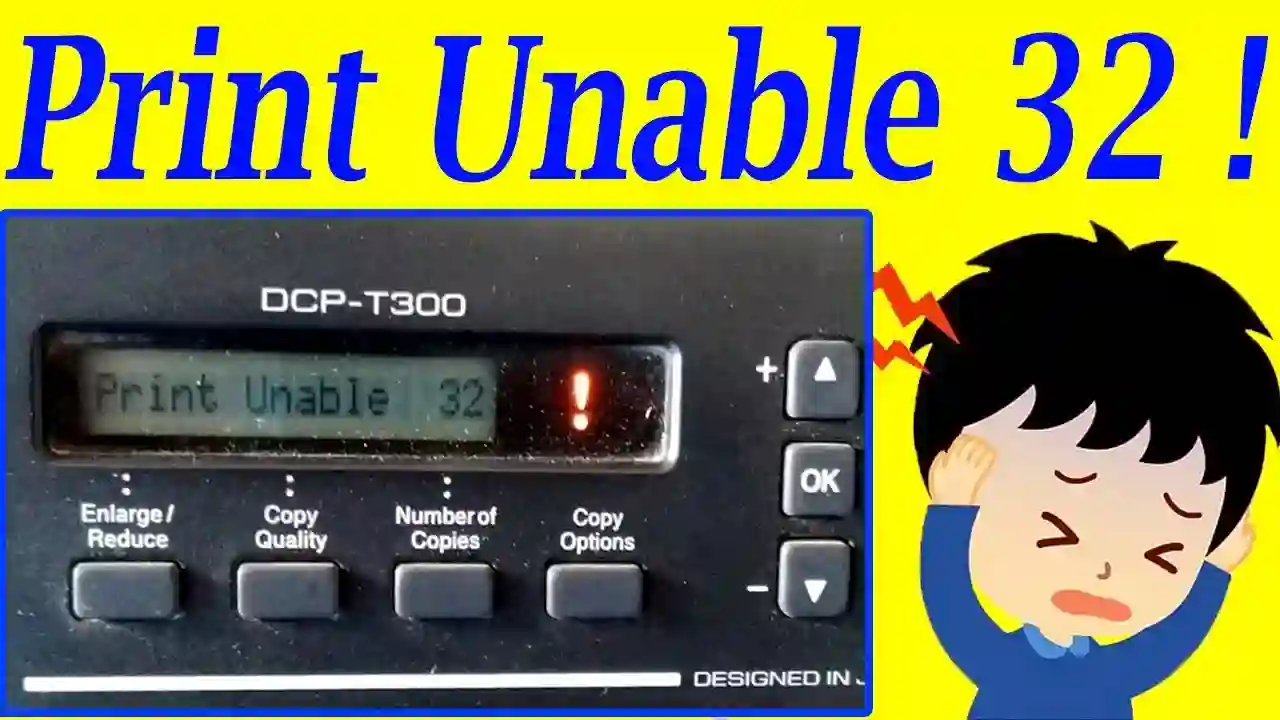
We do lots of effort for catching our photos on the camera. But when the time comes to print, we get stuck on its quality. We try our best setting to print well, but we fail. You can also try these steps, we tested it on (DCP-T300).
- Ink Level:
Always check the ink level of the printer, because some printers may show unknown status about ink, and it may fail while printing. - Cleaning the printer and its nose:
Cleaning is the best practice that everyone can do to make their device work properly. You can also clean the color and nose of the printer from the printer setting. For this:
i) Press the menu button on the printer
ii) Select the ink menu by pressing + or - to select the cleaning command
iv) And then choose Black or Color or All that you want
v) Then check ink Quality from "Test Print"
vi) If Quality is ok then pressed "Ok" using the + button otherwise press the - button and repeat the process until you get good quality. - The right size:
Your best bet is to make sure to have at least 200 dots per inch (DPI) for acceptable-quality photos and 300 DPI for excellent quality. - Paper choice and the paper size:
When you are working with an inkjet printer, higher quality paper is a must-have to avoid the absorption of ink into the paper and ensure crisp photos and text. Also, make sure the paper size also matches your photo.
By following these simple tips, you'll be well on your way to maximizing print quality with your Brother Printer. Whether you're printing photos, documents, or anything in between, these best practices will help ensure your prints are of the highest quality every time.