How to Install Windows 11 on Your PC - A Step-by-Step Guide
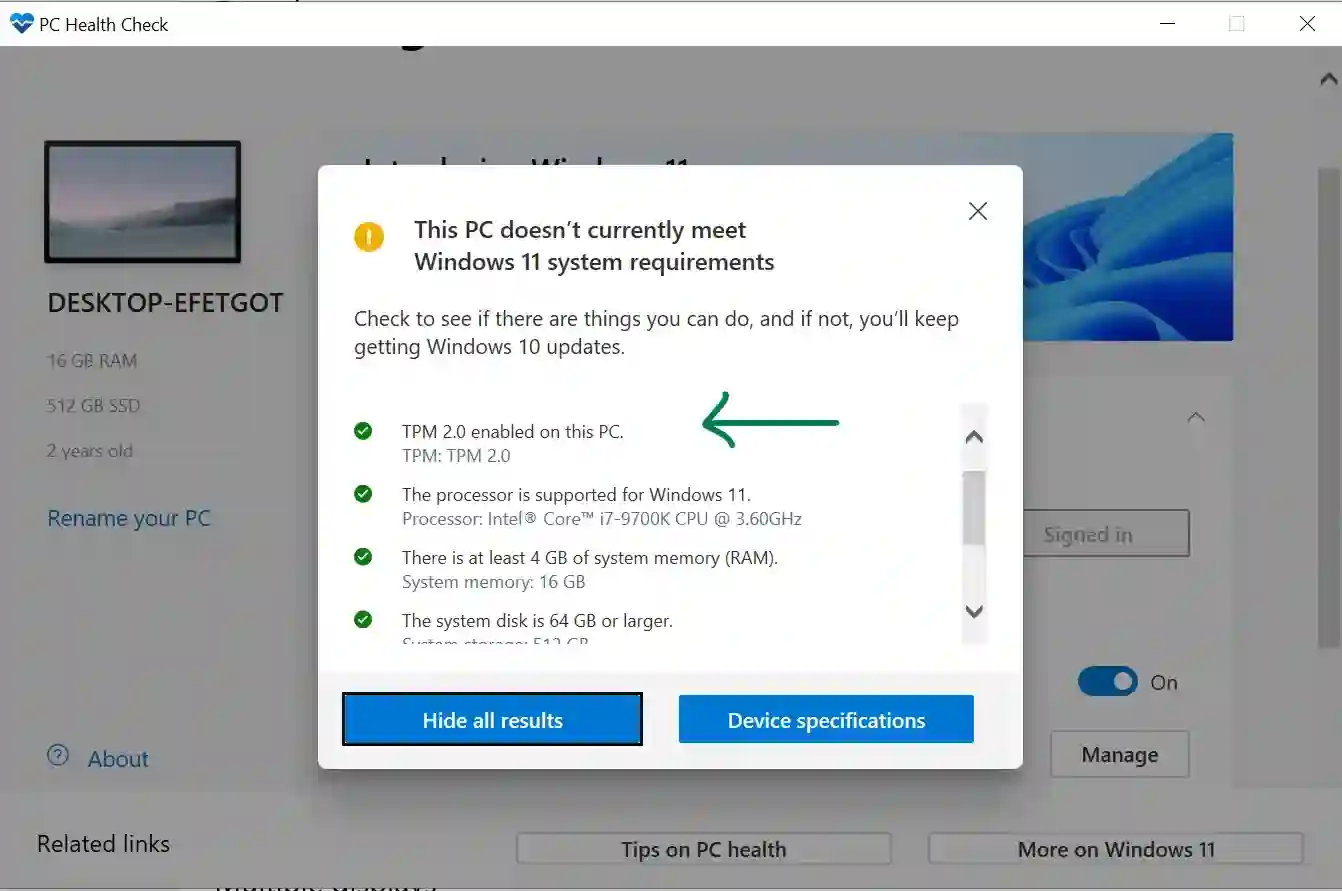
Windows 11 is a powerful and secure operating system with a refreshed look and new tools. The redesigned interface, improved sound effects, and addition of new apps all come together to bring a refreshing experience to your PC. Before you start, make sure your system meets the Windows 11 system requirements. Your PC must support Secure Boot and TPM 2.0, have at least 4GB of system memory (RAM), a 64GB or larger system disk, a processor with two or more cores, and a processor clock speed of 1GHz or faster.
In this step-by-step guide, we will walk you through the process of installing Windows 11 on your PC, including instructions for enabling TPM 2.0 and Secure Boot.
Windows 11 system requirements
Check if the system requirements meets your system to run windows 11.
- Your PC must support Secure Boot.
- TPM 2.0 must be ebabled on your system.
- There must be at least 4 GB of system memory (RAM)
- The system disk must be 64 GB or larger.
- The processor must have two or more cores.
- The processor clock speed must be 1 GHz or faster.
Windows 11 requirements before setup
- Enable TPM 2.0 on BIOS
- Enable Secure Boot On BIOS
- You Must have Bootable Pendrive of Windows 11 (If not then we will make)
- HDD/SSD/M.2 partition should be on GPT mode.
Step 1: Create a Bootable Windows 11 Pendrive (if necessary)
If you don't already have a bootable Windows 11 pendrive, you will need to download the Windows 11 ISO file and create one. You can visit this link to learn how to create a bootable Windows 11 Pendrive. Once you have completed this step, proceed to step 2.
Download iso file
Step 2: Enable TPM 2.0 or PTT on BIOS
TPM (Trusted Platform Module) or PTT (Platform Trust Technology) is a computer chip that can securely store artifacts used to authenticate the platform (your PC or laptop). Without TPM or PTT, Windows 11 will not install, so if your motherboard supports it and it is disabled, follow these steps to enable TPM 2.0 on your PC:
- Quickly enter your BIOS system by pressing the Del key while booting your computer.
- Go to the Peripherals tab.
- Search for Intel Platform Trust Technology (PTT) (Tested on Aorus z390 Pro Wifi)
- Enable it.
Step 3: Enable Secure Boot Mode
For Older Devices:
- While booting your computer, press the Del key to enter BIOS setup.
- Use the Up and Down arrow keys to choose the Secure Boot option.
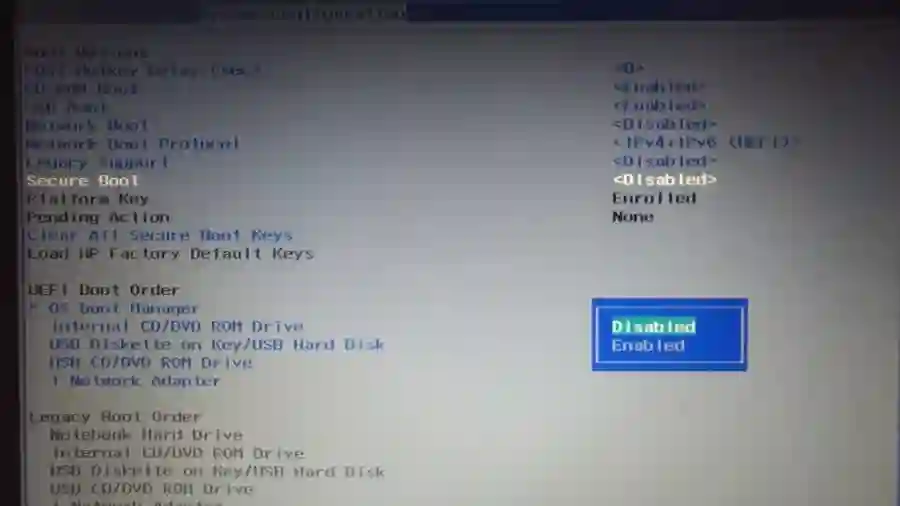
- Enable Secure Boot mode and select the option to change it from Enabled to Disabled.
- Press Enter, save your work, and exit.
For Latest Devices:
- While booting your computer, press the Del key to enter BIOS setup.
- Use the Up and Down arrow keys to choose the BIOS option.
- Disable CSM Support, save the setting, restart, and enter BIOS again.
- Look for the Secure Boot option in BIOS, enable it, save the setting, and restart your PC.
Step 4: Insert the Windows 11 Bootable Pendrive and Restart Your PC
In this step, you will need to insert the bootable pendrive of Windows 11 into your PC and restart it. The Windows 11 installation process will begin automatically.
Step 5: Select Your Language and Click on Next
The first prompt you will see during the installation process is the language selection screen. Choose your preferred language and click on the "Next" button.
Step 6: Click on Install Now
The next step is to initiate the installation process. Simply click on the "Install now" button to proceed.
Step 7: If the setup asks for a Product Key, Click on I Don't Have a Product Key
If the setup asks for a product key, simply click on the "I don't have a product key" button. You can choose to enter a product key later on, but it is not necessary for the installation process.
Step 8: Select Windows 11 Pro and Click on Next
After skipping the product key, you will be prompted to choose the version of Windows 11 you want to install. Select "Windows 11 Pro" and click on the "Next" button.
Step 9: Accept the Applicable Notices and License Terms and Click on Next
In this step, you will need to accept the applicable notices and license terms before proceeding with the installation process. Read the terms carefully and click on the "Next" button once you are ready.
Step 10: Choose Custom Installation or Upgrade
Here, you will have the option to either upgrade your current version of Windows or perform a clean installation. If you want to upgrade from Windows 10, 8, or 7 to Windows 11, choose "Upgrade." If you prefer a clean installation, choose "Custom Installation." Note that custom installation will delete all previous files on the installation drive.
Step 11: Convert MBR Disk Partition to GPT (If Necessary)
If your disk partition type is of MBR, you will need to convert it to GPT. After this process is complete, click on the "Next" button.
Windows installation will now begin and you will need to wait until it is complete.
