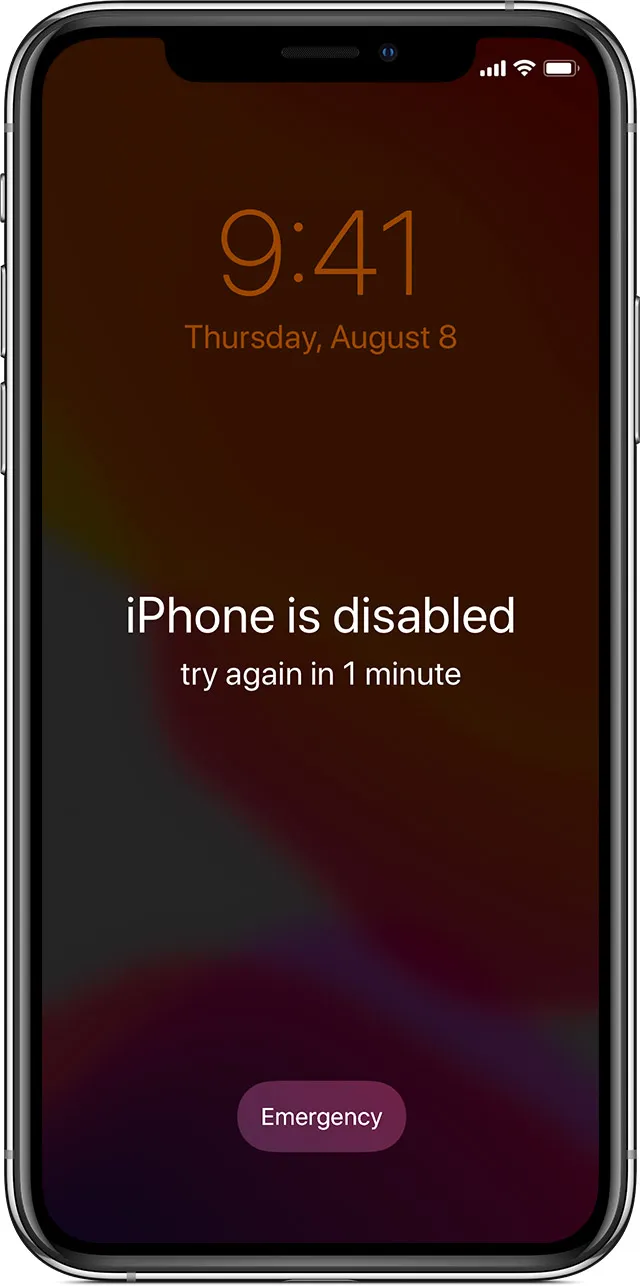
It's a common and incredibly frustrating scenario: you plug in your iPhone, expecting it to charge, but nothing happens. The battery icon remains stubbornly empty, or worse, your iPhone doesn't even acknowledge the charger. Before you panic or rush to a repair shop, there are several common reasons and straightforward fixes you can try. This guide will walk you through diagnosing and resolving iPhone charging problems.
Why Isn't My iPhone Charging? Common Culprits
Several factors can prevent your iPhone from charging. Understanding these can help you pinpoint the issue quickly:
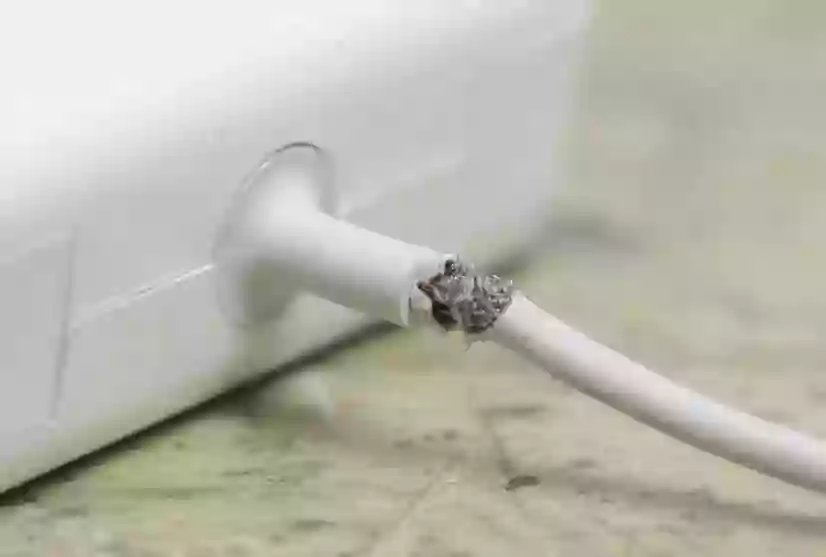
- Faulty Charging Cable or Adapter: This is the most frequent cause. Cables (especially non-Apple certified ones) can fray, bend, or break internally. Adapters can also fail.
- Dirty or Damaged Charging Port: Lint, dust, and other debris can accumulate in your iPhone's Lightning port, preventing a secure connection. Physical damage to the port pins can also occur.
- Software Glitches: Sometimes, a temporary software bug within iOS can interfere with the charging process.
- Power Source Issues: The USB port on your computer or the wall outlet itself might be the problem.
- Battery Health or Damage: Over time, iPhone batteries degrade. In some cases, an old or damaged battery might struggle to hold a charge or charge at all.
- Extreme Temperatures: If your iPhone is too hot or too cold, it may temporarily stop charging to protect its components, especially the battery.
- Water Damage or Physical Impact: Internal damage from liquids or a significant drop can affect charging capabilities.
Solutions: How to Fix an iPhone That Won't Charge
Let's go through the troubleshooting steps, starting with the simplest and most common solutions.
1. Check Your Charging Cable and Adapter
This is the first and easiest check. Inspect your Lightning cable for any visible signs of damage like fraying, kinks, or bent pins. Try a different, known-good Apple-certified (MFi) cable and a different USB power adapter. If your iPhone charges with the new set, your old cable or adapter was likely the issue.
Tip: Using MFi (Made for iPhone/iPad/iPod) certified accessories is crucial. Non-certified accessories can damage your iPhone or simply not work reliably.
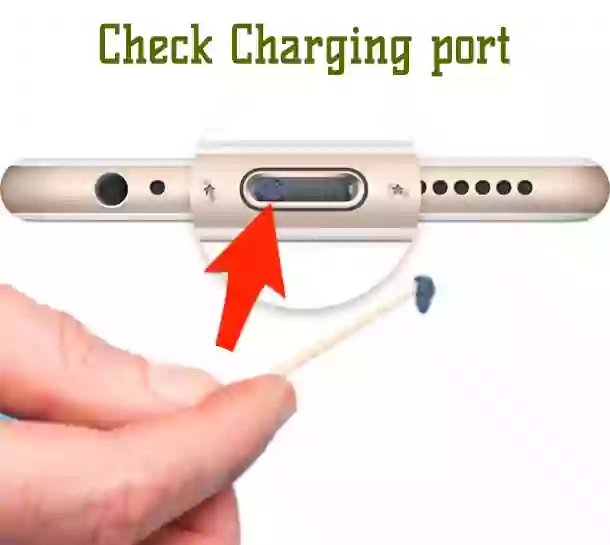
2. Clean the iPhone's Charging Port
Dust, lint from pockets, and other debris can easily get lodged in the Lightning port, obstructing the connection. Be very gentle when cleaning.
- Inspect the port: Use a flashlight to look inside the port for visible debris.
- Use compressed air: A can of compressed air is often the safest first step to blow out loose debris.
- Gently use a non-metallic tool: If compressed air doesn't work, you can *carefully* use a wooden or plastic toothpick (never metal, like a paperclip or SIM ejector tool, which can short-circuit or damage the pins). Gently scrape around the inside walls and bottom of the port. Do not apply excessive force.
3. Try a Different Power Source
Sometimes the issue isn't your iPhone or cable, but the power source:
- If you're using a wall outlet, try a different one.
- If you're charging via a computer's USB port, try a different USB port or switch to a wall adapter. Some computer USB ports don't provide enough power, especially older ones.
- Avoid unpowered USB hubs if possible; plug directly into the computer or a wall adapter.
4. Restart or Force Restart Your iPhone
A simple restart can often resolve minor software glitches that might be preventing charging.
- To restart: Press and hold the side button (or top button) until the "slide to power off" slider appears. Drag the slider, then wait for your iPhone to turn off. To turn it back on, press and hold the side (or top) button again until you see the Apple logo.
- To force restart (if a normal restart doesn't help or the screen is unresponsive):
- iPhone 8 or later (including iPhone SE 2nd & 3rd gen): Quickly press and release the Volume Up button. Quickly press and release the Volume Down button. Then, press and hold the Side button until you see the Apple logo.
- iPhone 7 or iPhone 7 Plus: Press and hold both the Side (or Top) button and the Volume Down button until you see the Apple logo.
- iPhone 6s or earlier (including iPhone SE 1st gen): Press and hold both the Home button and the Top (or Side) button until you see the Apple logo.
After restarting, try charging your iPhone again.
5. Check for Software Updates
Ensure your iPhone is running the latest version of iOS. Sometimes updates include fixes for bugs that could affect charging.
Go to Settings > General > Software Update. If an update is available, download and install it (ensure your iPhone has enough charge or is connected to power during the update).
6. Address Environmental Temperature Issues
If your iPhone is very cold (e.g., left in a car overnight in winter) or excessively hot (e.g., left in direct sunlight), it might temporarily refuse to charge to protect the battery.
- If too cold: Allow it to warm up gradually to room temperature. Avoid direct heat sources like radiators or hair dryers, as sudden temperature changes can be harmful.
- If too hot: Move it to a cooler, shaded area and let it cool down. Remove any case if it seems to be trapping heat.
Note on warming a cold battery: The original image suggested a hair dryer. While gentle, indirect warmth might be okay, direct heat from a hair dryer can be too intense and potentially damage the battery or internal components. Allowing the device to return to room temperature naturally is safest.
7. Check Battery Health (and Consider Replacement)
Over time, lithium-ion batteries degrade. You can check your iPhone's battery health in Settings > Battery > Battery Health & Charging. If the "Maximum Capacity" is significantly reduced (e.g., below 80%) or if it indicates "Service," your battery may be worn out and struggling to hold or accept a charge.
If your battery is degraded or damaged, the best solution is to have it replaced by Apple or an Apple Authorized Service Provider. Attempting a DIY battery replacement is risky and can void warranties or cause further damage if not done correctly.
8. Restore Your iPhone (Last Resort for Software Issues)
If you suspect a deep software issue that restarts and updates haven't fixed, you can try restoring your iPhone to factory settings using a computer (Finder on Mac, iTunes on Windows). Warning: This will erase all data on your iPhone, so ensure you have a backup first.
- Connect your iPhone to your computer.
- Open Finder (Mac) or iTunes (Windows).
- Select your iPhone when it appears.
- Click "Restore iPhone..." and follow the prompts.
After the restore, set up your iPhone as new initially to see if it charges. If it does, you can then try restoring from your backup. If the problem returns after restoring the backup, the issue might be within the backup data itself.
When to Seek Professional Help
If you've tried all the steps above and your iPhone still won't charge, there might be a more serious hardware problem, such as:
- A faulty charging port that needs replacement.
- Damage to the logic board.
- A completely dead battery that needs professional replacement.
- Internal damage from a drop or liquid exposure.
In these cases, it's best to contact Apple Support, visit an Apple Store Genius Bar, or go to an Apple Authorized Service Provider for diagnosis and repair.
Conclusion: Get Your iPhone Charging Again!
An iPhone that won't charge can disrupt your day, but with a systematic approach, you can often identify and fix the problem yourself. From checking cables and cleaning ports to software troubleshooting, these steps cover the most common solutions.
Remember the importance of using quality accessories and handling your device with care to prevent future charging issues. We hope this guide helps you get your iPhone powered up and ready to go! For more tech fixes and tutorials, explore RepairToFix.com.