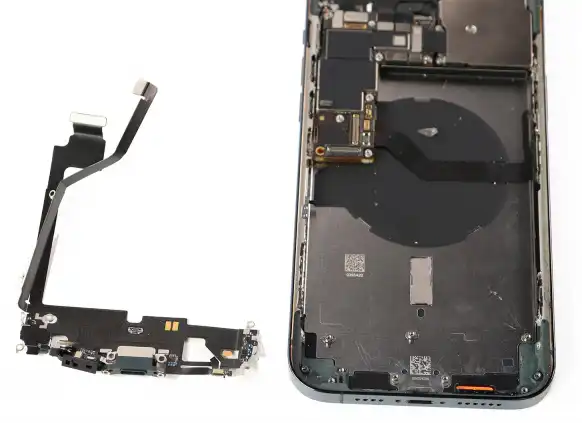
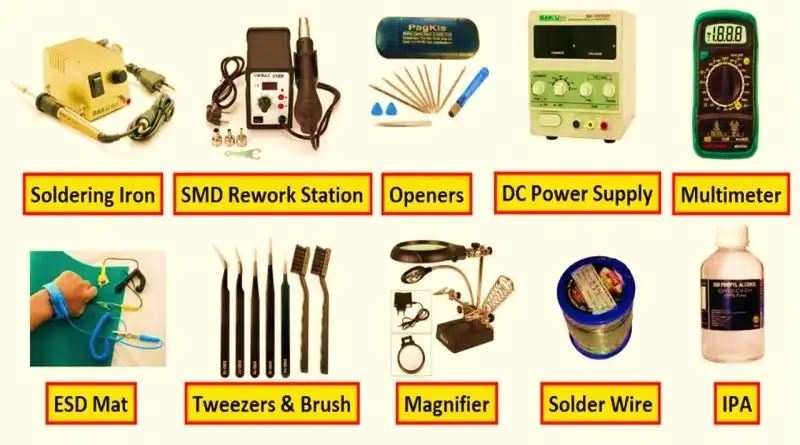
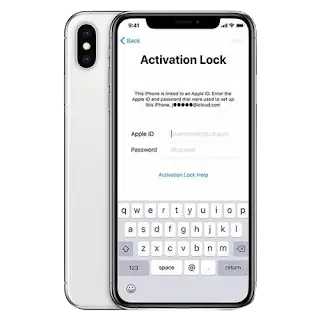
Are you worried about recharging your iPhone 12 Pro Max because it does not detect any lightning cable? The iPhone charger disconnects constantly and the charge stops without warning? Or, iPhone stops charging and is no longer recognized by your computer when you try to backup through iTunes? Don't panic, you've come to the right place to solve all your worries! SOSav technicians have produced this illustrated and commented repair guide to explain to you how to change this iPhone 12 Pro Max charging connector yourself cheaply! With a little patience, you will find an iPhone like new.
Remember to make a data backup by iTunes or iCloud before starting your iPhone repair.
Symptoms :
- Charging problem
- Unrecognized load
- Load not detected
- Lightning port damaged
- iPhone not recognized by iTunes
Step 1
- Before changing your iPhone 12 Pro Max charging connector, please turn off your phone for obvious safety reasons.
- To do this, simultaneously press the Power (right) and volume - (left) buttons.
- Then validate by switching off.
Step 2
- Insert the SIM ejector (present in your iPhone box or our tool kit ) into the hole in the SIM drawer located at the bottom of the left edge.
- With a light pressure, you will feel the SIM drawer pop out by itself.
Step 3
- The SIM drawer came out in less than 2 minutes!
Step 4
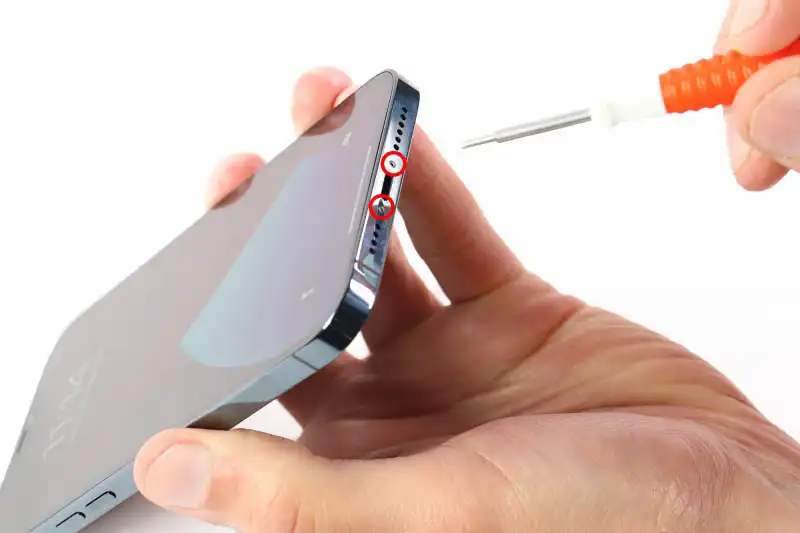
- Start by unscrewing the 2 pentalobe screws around the lightning port, circled in red. (Photo 1)
- Then heat the entire front for 2 to 3 minutes to soften the glue that holds the screen.
- Do not hesitate to heat again later if you feel resistance!
Step 5
- Firmly position the iSclack clamp at the bottom of the screen in order to have more grip afterwards.
- The operation is possible with the simple suction cup but much more complex.
Step 6
- Press down on the clamp to create a slight opening in the screen.
- Take the opportunity to gently introduce a pick.
- You can remove the iSlack clamp.
Step 7
- Gently slide the opening pick around the edge of the screen to peel it off.
- Do not push it in too far to avoid damaging the cables.
- Open the screen like a book.
- Be careful, the screen is still attached by its tablecloths!
Step 8
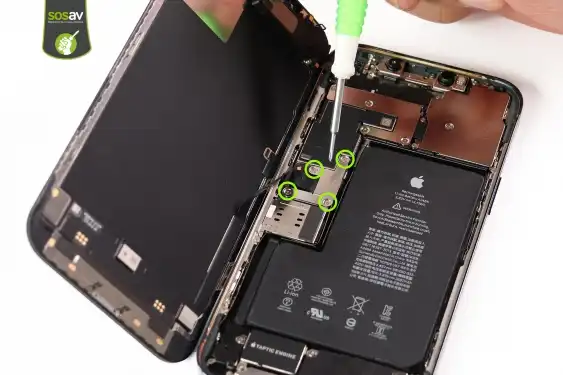
- Then unscrew the 4 tri-wing screws circled in green. (Photo 1)
- Remove the metal plate.
Step 9
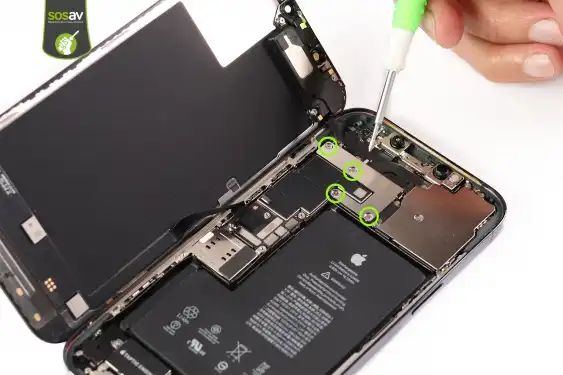
- Remove the other 4 tri-wing screws circled in green. (Photo 1)
- Then take out the second metal plate.
Step 10
- The 2 metal plates are extracted.
Step 11
- First of all, first disconnect the battery!
- This avoids the possible risks of short circuits during your iPhone repair.
Step 12
- Continue by disconnecting the first screen cable ...
- ... As well as the second.
Step 13
- The iPhone 12 Pro Max screen is separate and partially disassembled.
Step 14
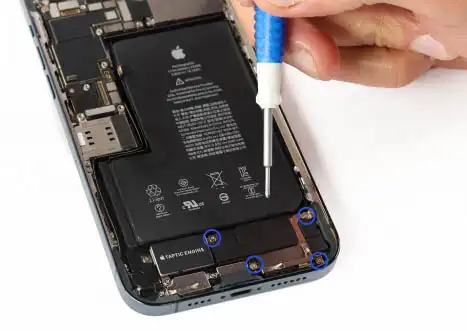
- Unscrew the 4 cruciform screws circled in blue (Photo 1)
- Then dislodge the external speaker using the spatula.
Step 15
- The external speaker is out.
Step 16
- Again with the cruciform screwdriver, unscrew the 2 screws circled in blue.
- Then the rivet screw circled in orange.
Step 17
- Take the nylon spatula to disconnect the vibrator cable.
- You can take out the vibrator / taptic engine safely.
Step 18
- The taptic engine / vibrator is extracted.
Step 19
- Heat the back side opposite the battery for 20 to 30 seconds to soften the glue.
- Be careful never to heat the battery directly!
- Gradually slide the wide, flat spatula under the battery to lift it off and take it out.
- Be careful not to bend or puncture it!
Step 20
- The iPhone 12 Pro Max battery is out.
Step 21
- Unscrew the rivet screw circled in orange.
- As well as the cruciform screw circled in blue.
Step 22
- Use the nylon spatula to disconnect the cables from the charging connector and the SIM reader.
- Then take out the SIM reader.
Step 23
- The SIM reader is in turn removed.
Step 24
- Keep the spatula in your hand to disconnect the other cable from the charging connector.
Step 25
- Reuse the cruciform to unscrew the screw circled in blue
- Then remove the protective plate.
Step 26
- Last 3 cruciform screws circled in blue.
- Then gently slide the nylon spatula under the connector cable to extract the assembly.
Step 27
- The iPhone 12 Pro Max charging connector is disassembled.
